

Wardrobe Screens
Posted on 11th November 2021 at 20:05
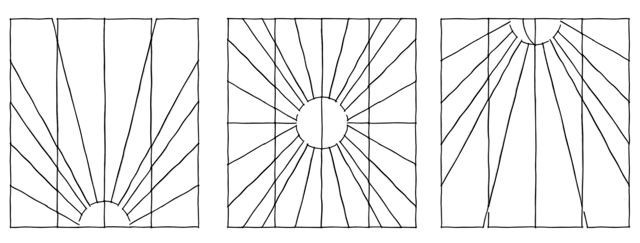
Here’s a sketch of the settle that I’m making.
I’m going to use walnut veneer for the “ray” shapes. Each ray is made up from up to 5 strips of veneer that are 100mm wide each. The first job is to trim the edges of each strip and tape them together to make 1 large piece.
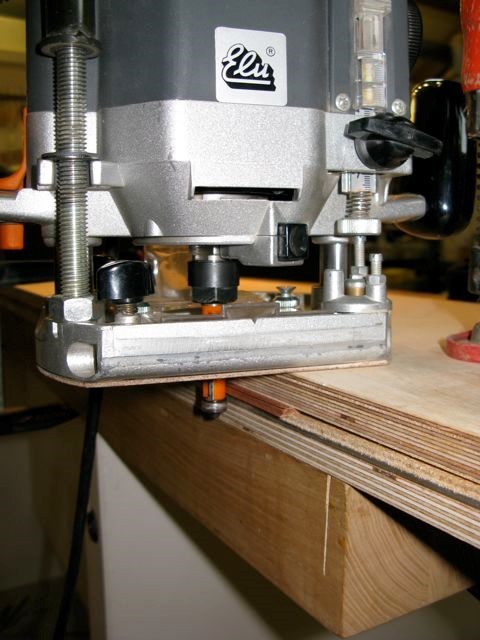
I sandwich the veneer strips between 2 long pieces of plywood with an aluminium strip set in as a straight edge. At the end of the orange cutter there is a bearing, set to run along the aluminium edge and cut a straight line. I can then tape them together.
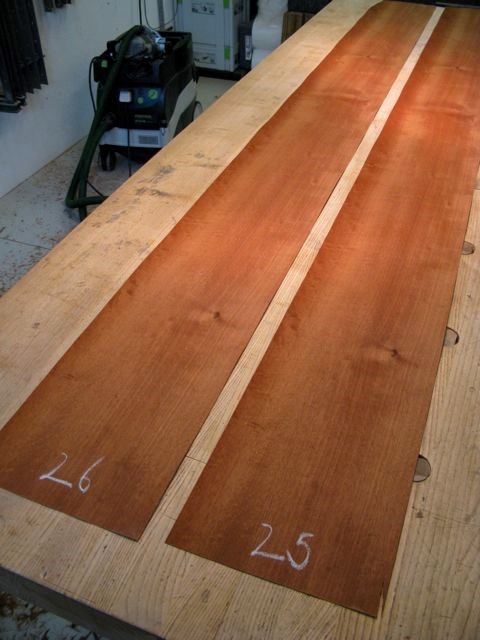
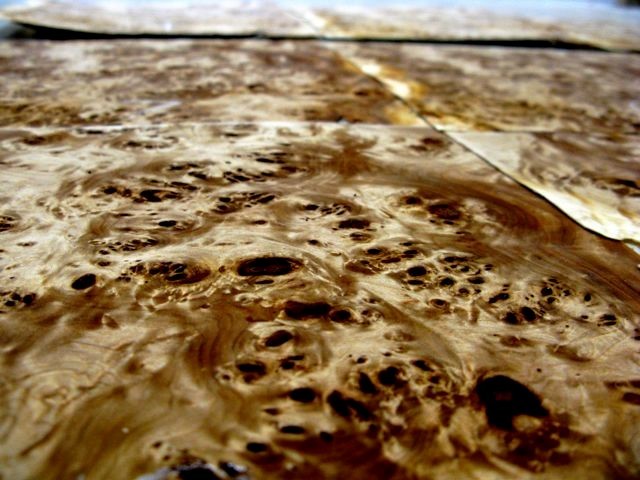
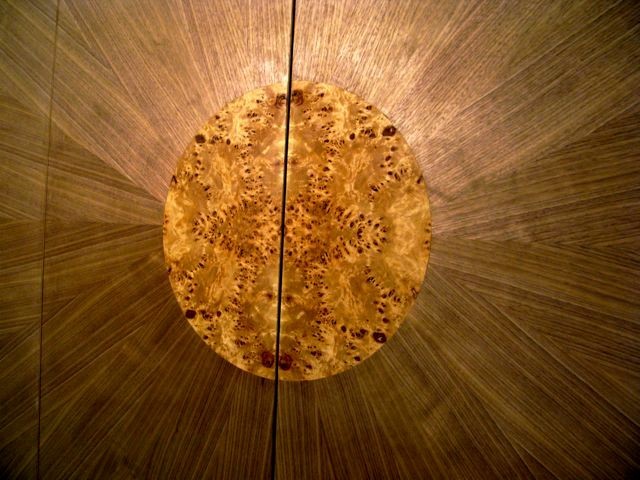
The veneer above is makore. I’m using it on the reverse of the screen panels. The stunning veneer below is poplar burr. This will be for the circular “sun” sections.
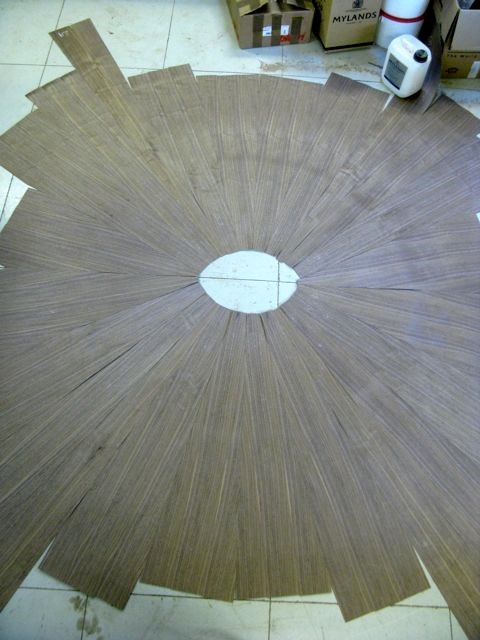
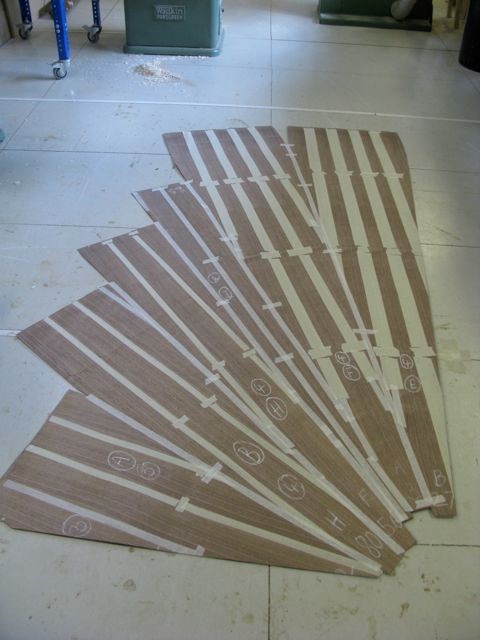
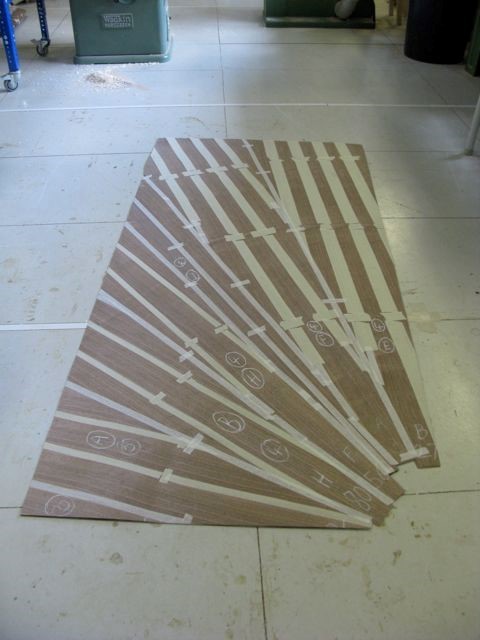
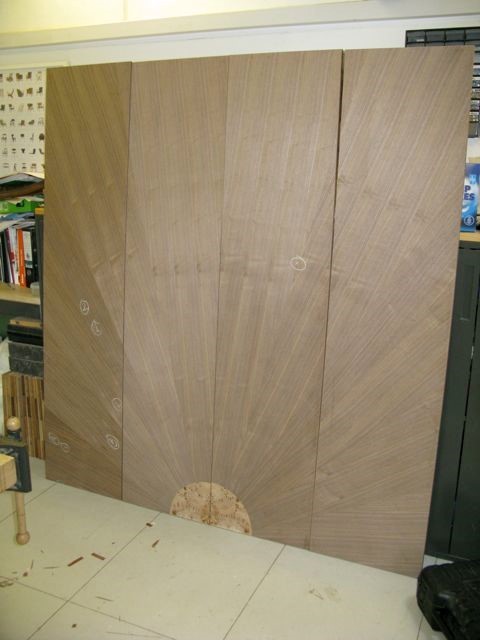
Here’s a photo of the walnut veneer wedge shapes laid out on the floor. The centre will be a circle on the finished screen.
It’s taken me about 8 days to cut, joint and trim about 40 square metres of veneer over the 3 screen designs. Fortunately walnut sawdust doesn’t make my skin itch or my nose run, unlike the makore veneer that I’m using for the reverse of the panels. Another reason to choose native hardwoods over exotic woods.
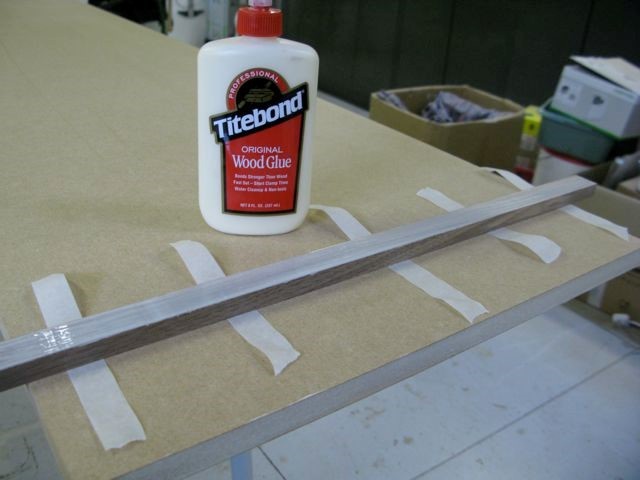
I’m glueing solid walnut lipping to the edges of the screen panels. The lipping will hide the edges of the MDF. There are a few options to achieve this, including glueing a band of veneer onto the edge, but this method gives the best quality finish.
I coat both the walnut and MDF with glue and then hold it on using masking tape. The walnut is slightly wider than the MDF so I can plane it flush to the surface. The veneer will cover the whole surface.
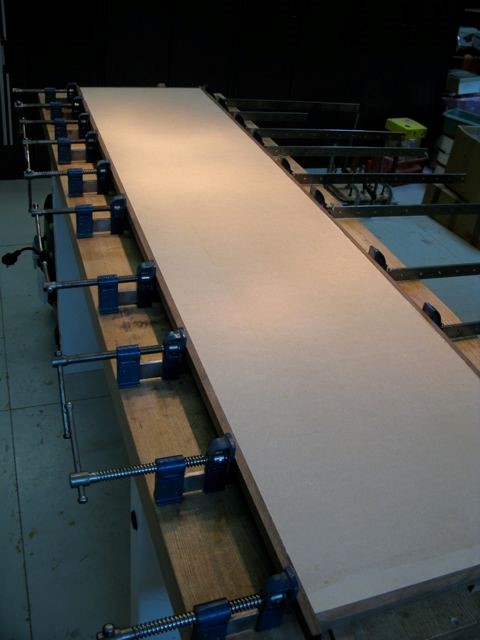
I sash cramp the long edge lipping once the ends are dry and trimmed. 1 down, 11 to go!
I thought I’d describe the veneering process. Here’s a photo of the walnut veneer taped together. There’s enough to cover two sections. Here it is with the waste trimmed off…
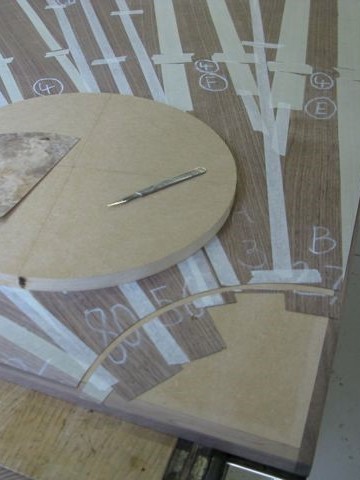
I’ve cut out a circle from some MDF to use as a cutting template. I then use a scalpel to cut out the section for the burr veneer to fit into. I use my Pizzi glue spreader to give an even coat of glue over the whole panel. I’m using Titebond Coldpress glue.
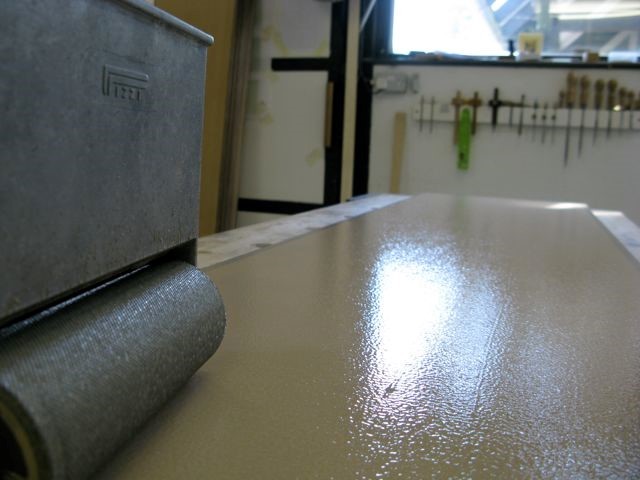
Into the vacuum bag it goes. The bag is sealed and the air is sucked out. The air pressure from outside the bag gives a huge and even force over the whole surface of the panel. Here’s the vacuum pump.


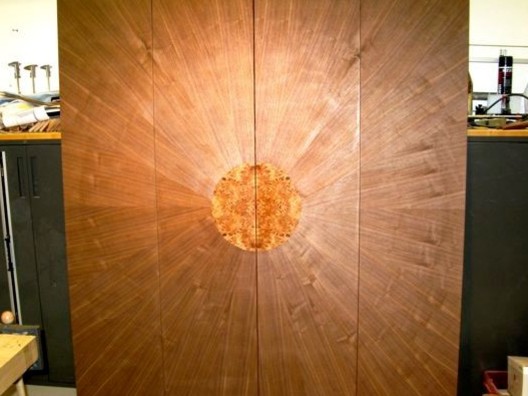
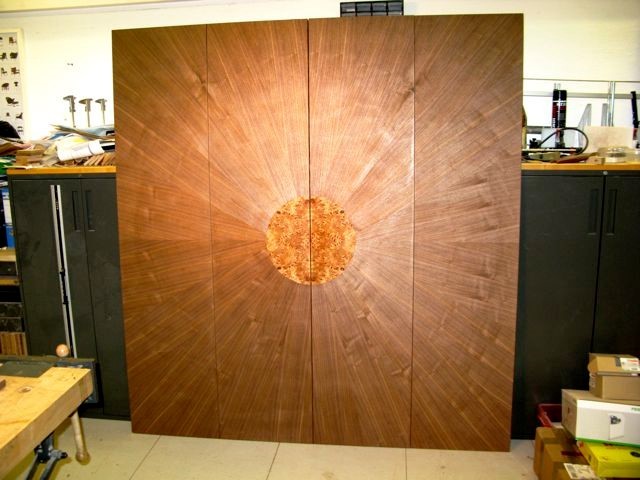
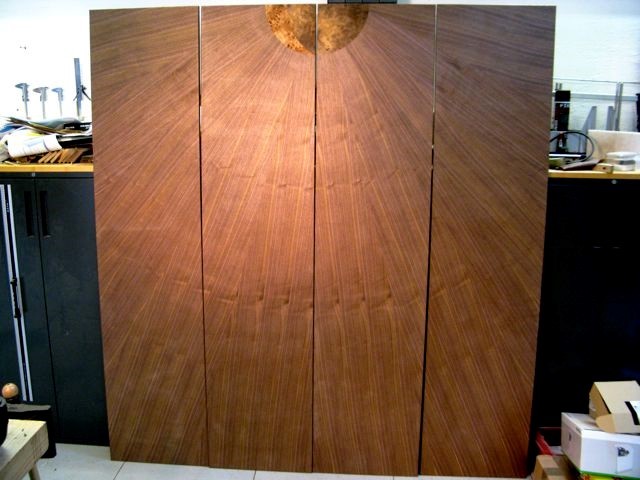
Here are 4 panels together to make a whole screen.
The screens are finished. Now I just have to fit them…
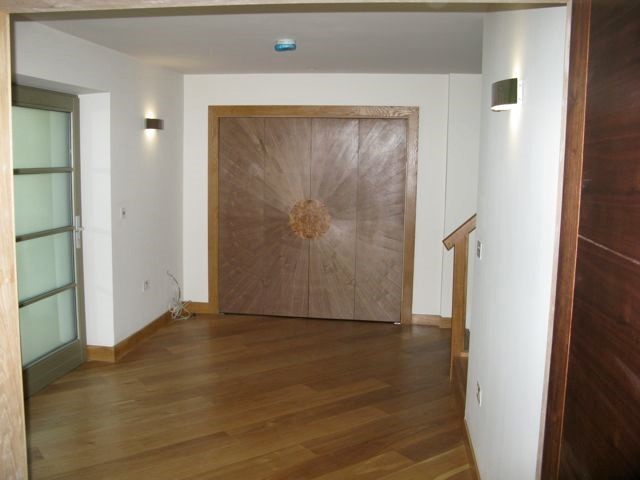
Here are photos of the veneered screens I made in-situ. The fist one, “Star”, is in the entrance hall.
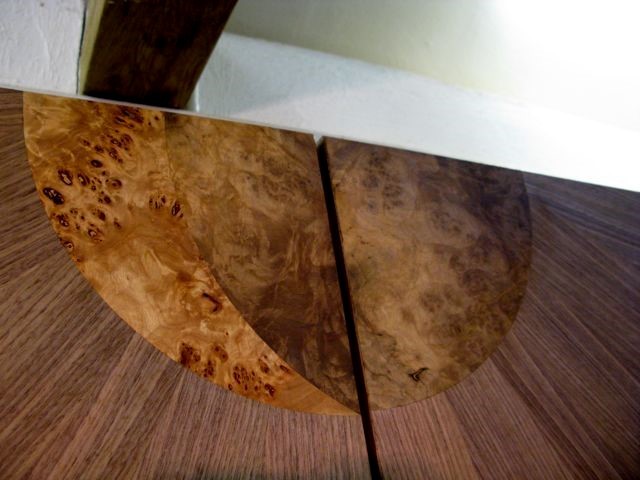
The second, “Moon”, is in a bedroom…
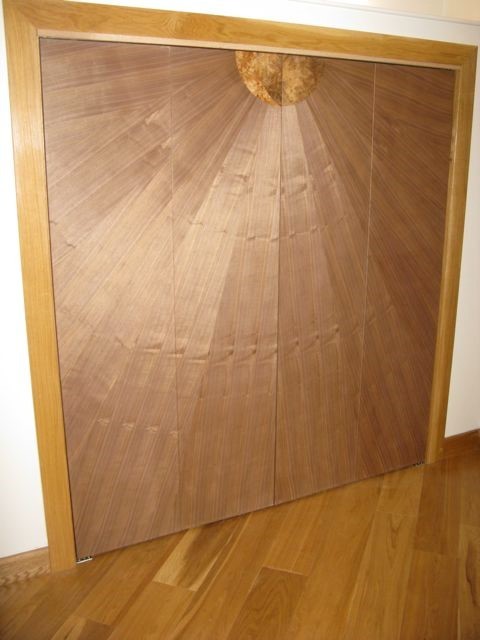
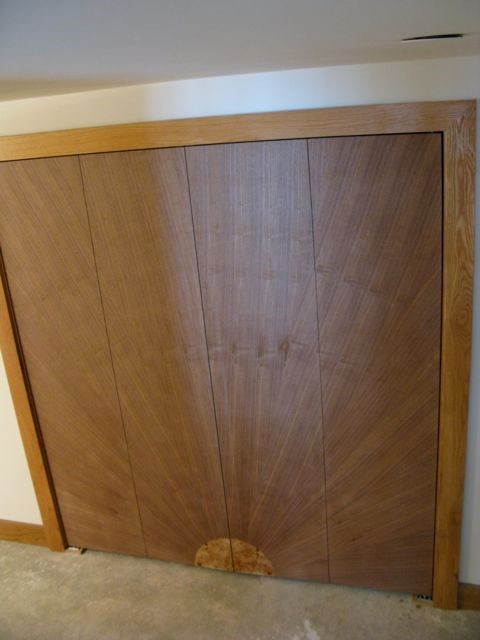
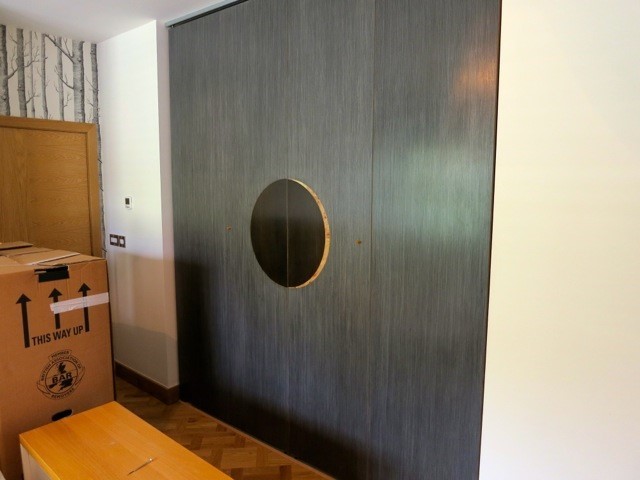
The third, “Sun”, is hung in what will be a basement cinema room.
And here are some more screens I made some screens to cover a bedroom alcove in a new house.
The house is by the sea, near Ramsey on the Isle of Man. I took some photos while I was there earlier this year and based the screen colours on a photo I took of a local beach.

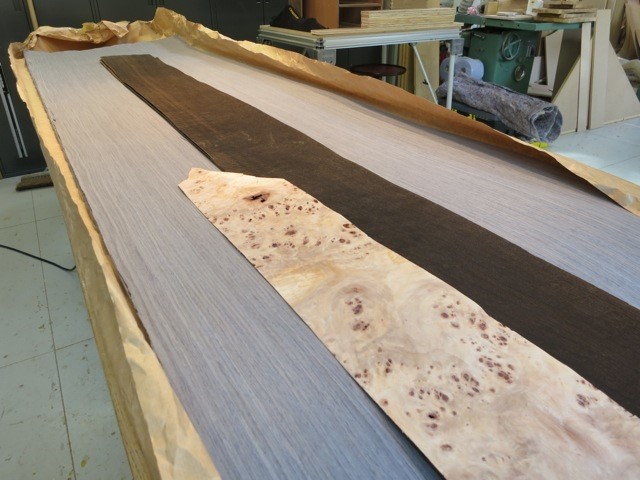
I used 3 veneers to create the design. The dark wood is fumed oak. Fumed oak is made by exposing regular oak to amonia fumes until it turns to a dark shade. The light coloured veneer is poplar burr, and the the grey is a re-constituted veneer made by Alpi.
Share this post: